
4 steps to walking on your Lifewood timber floor
Our process is based on years of experience and designed for the best possible outcome.
Choosing and installing your timber floor is an exciting time that enhances your home for years to come. Whether you’re opting for a DIY approach or seeking professional help, the process involves several key steps to ensure a successful outcome.
With 22 years experience we hope this four step process will make the installation of your new floor as smooth as possible.
1. Choose and order your timber
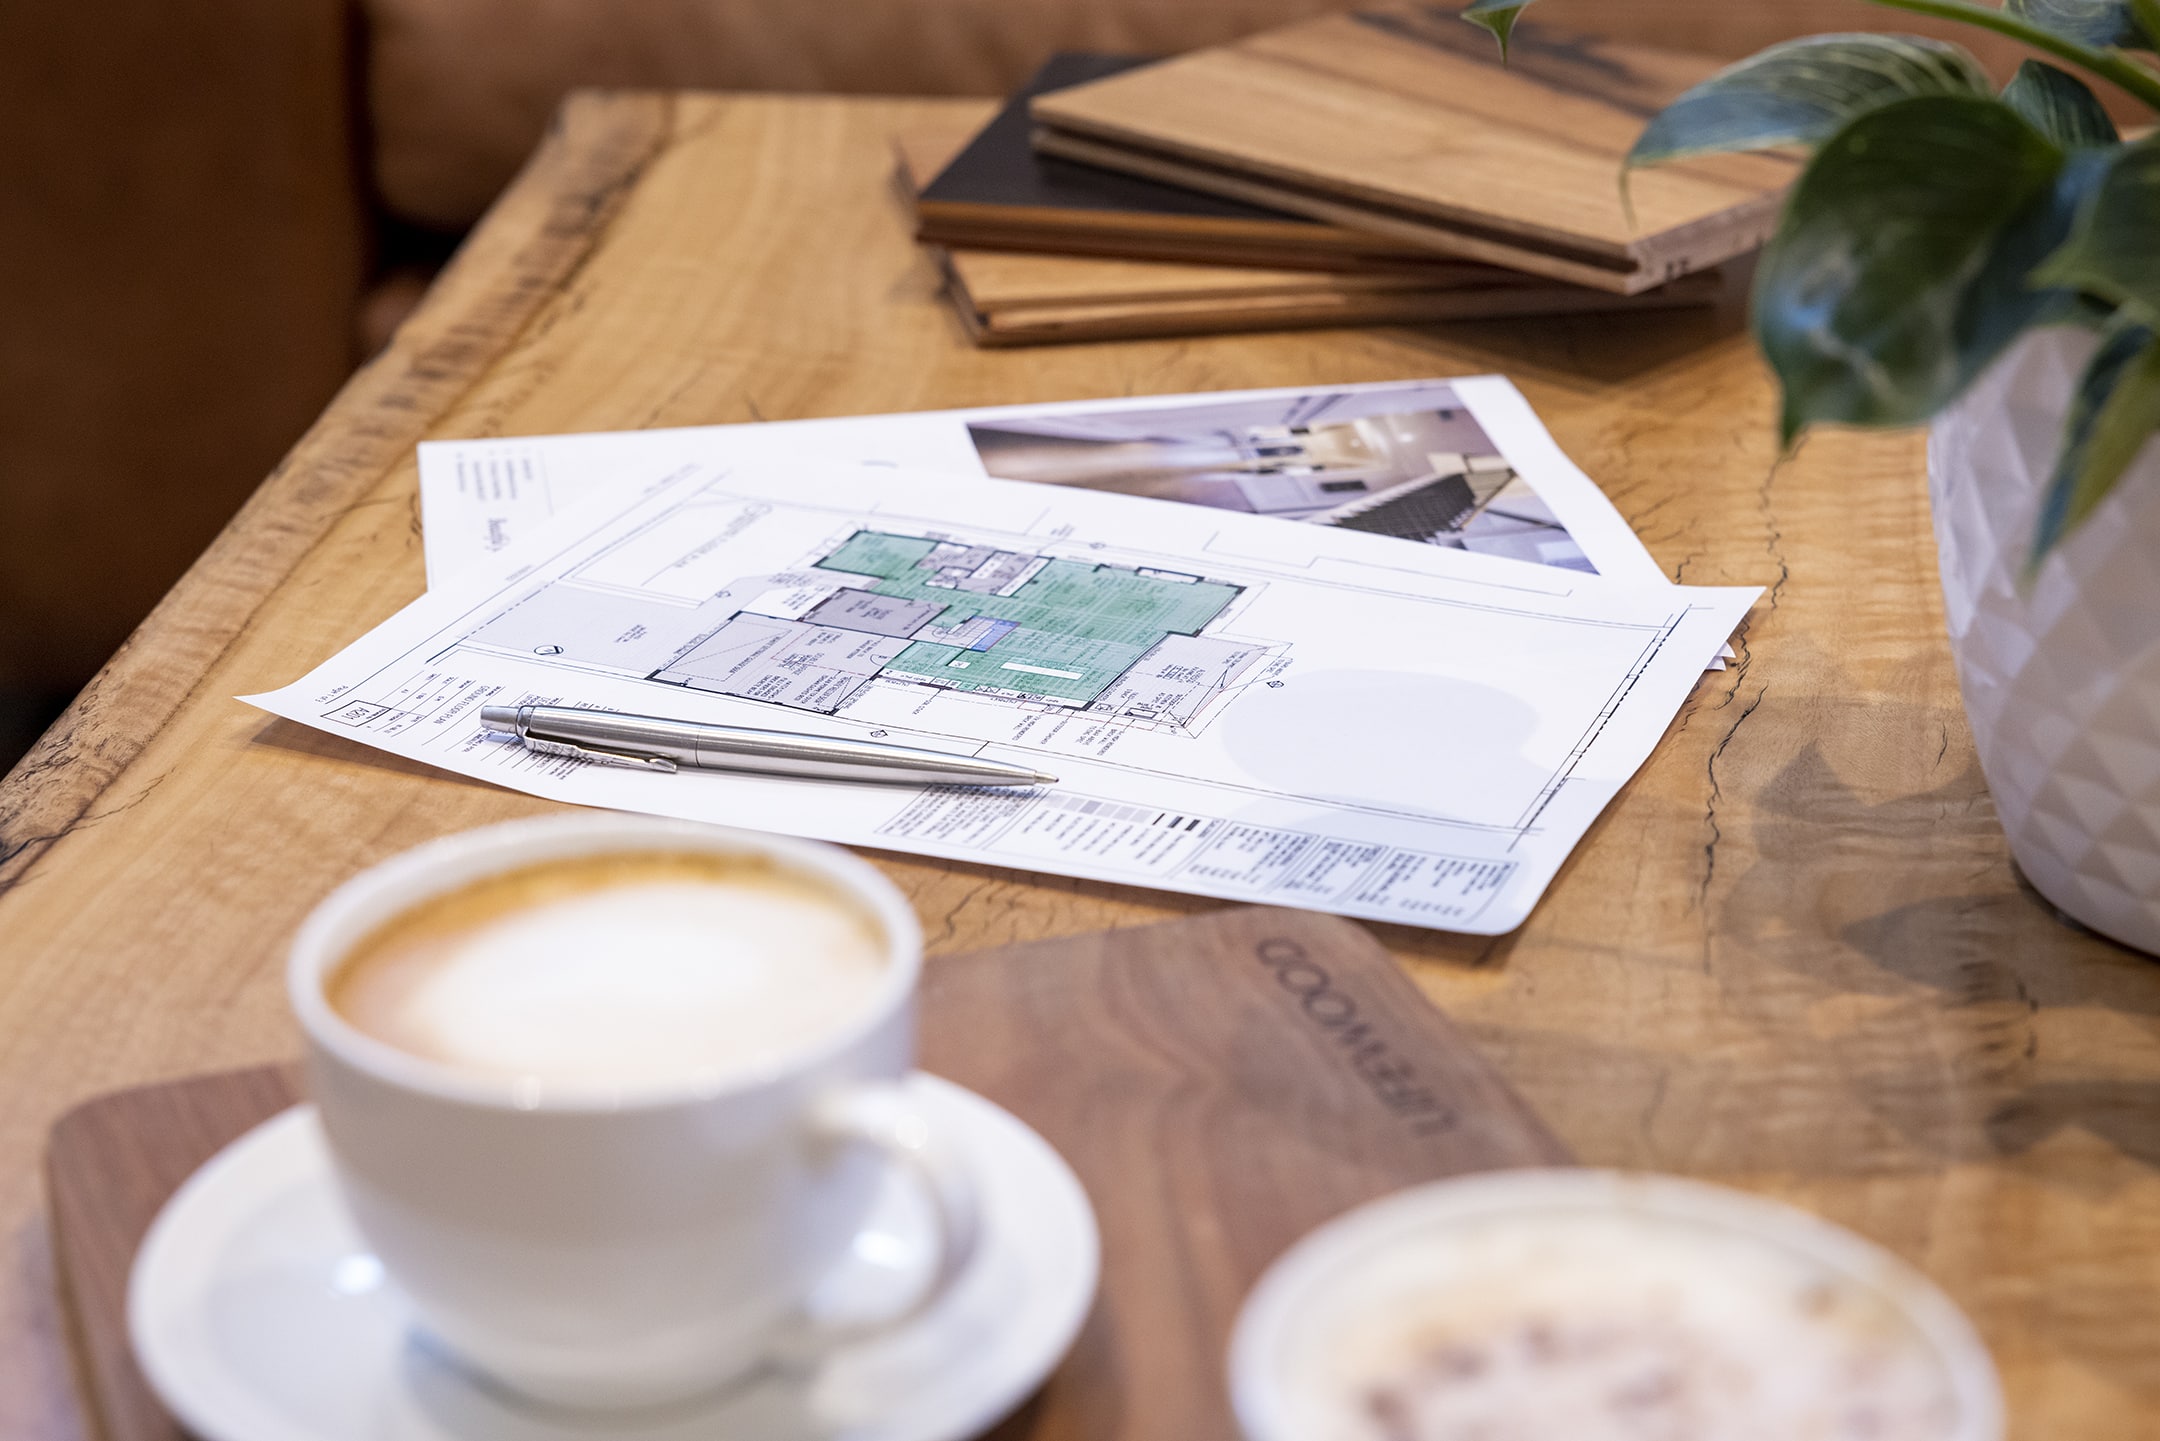
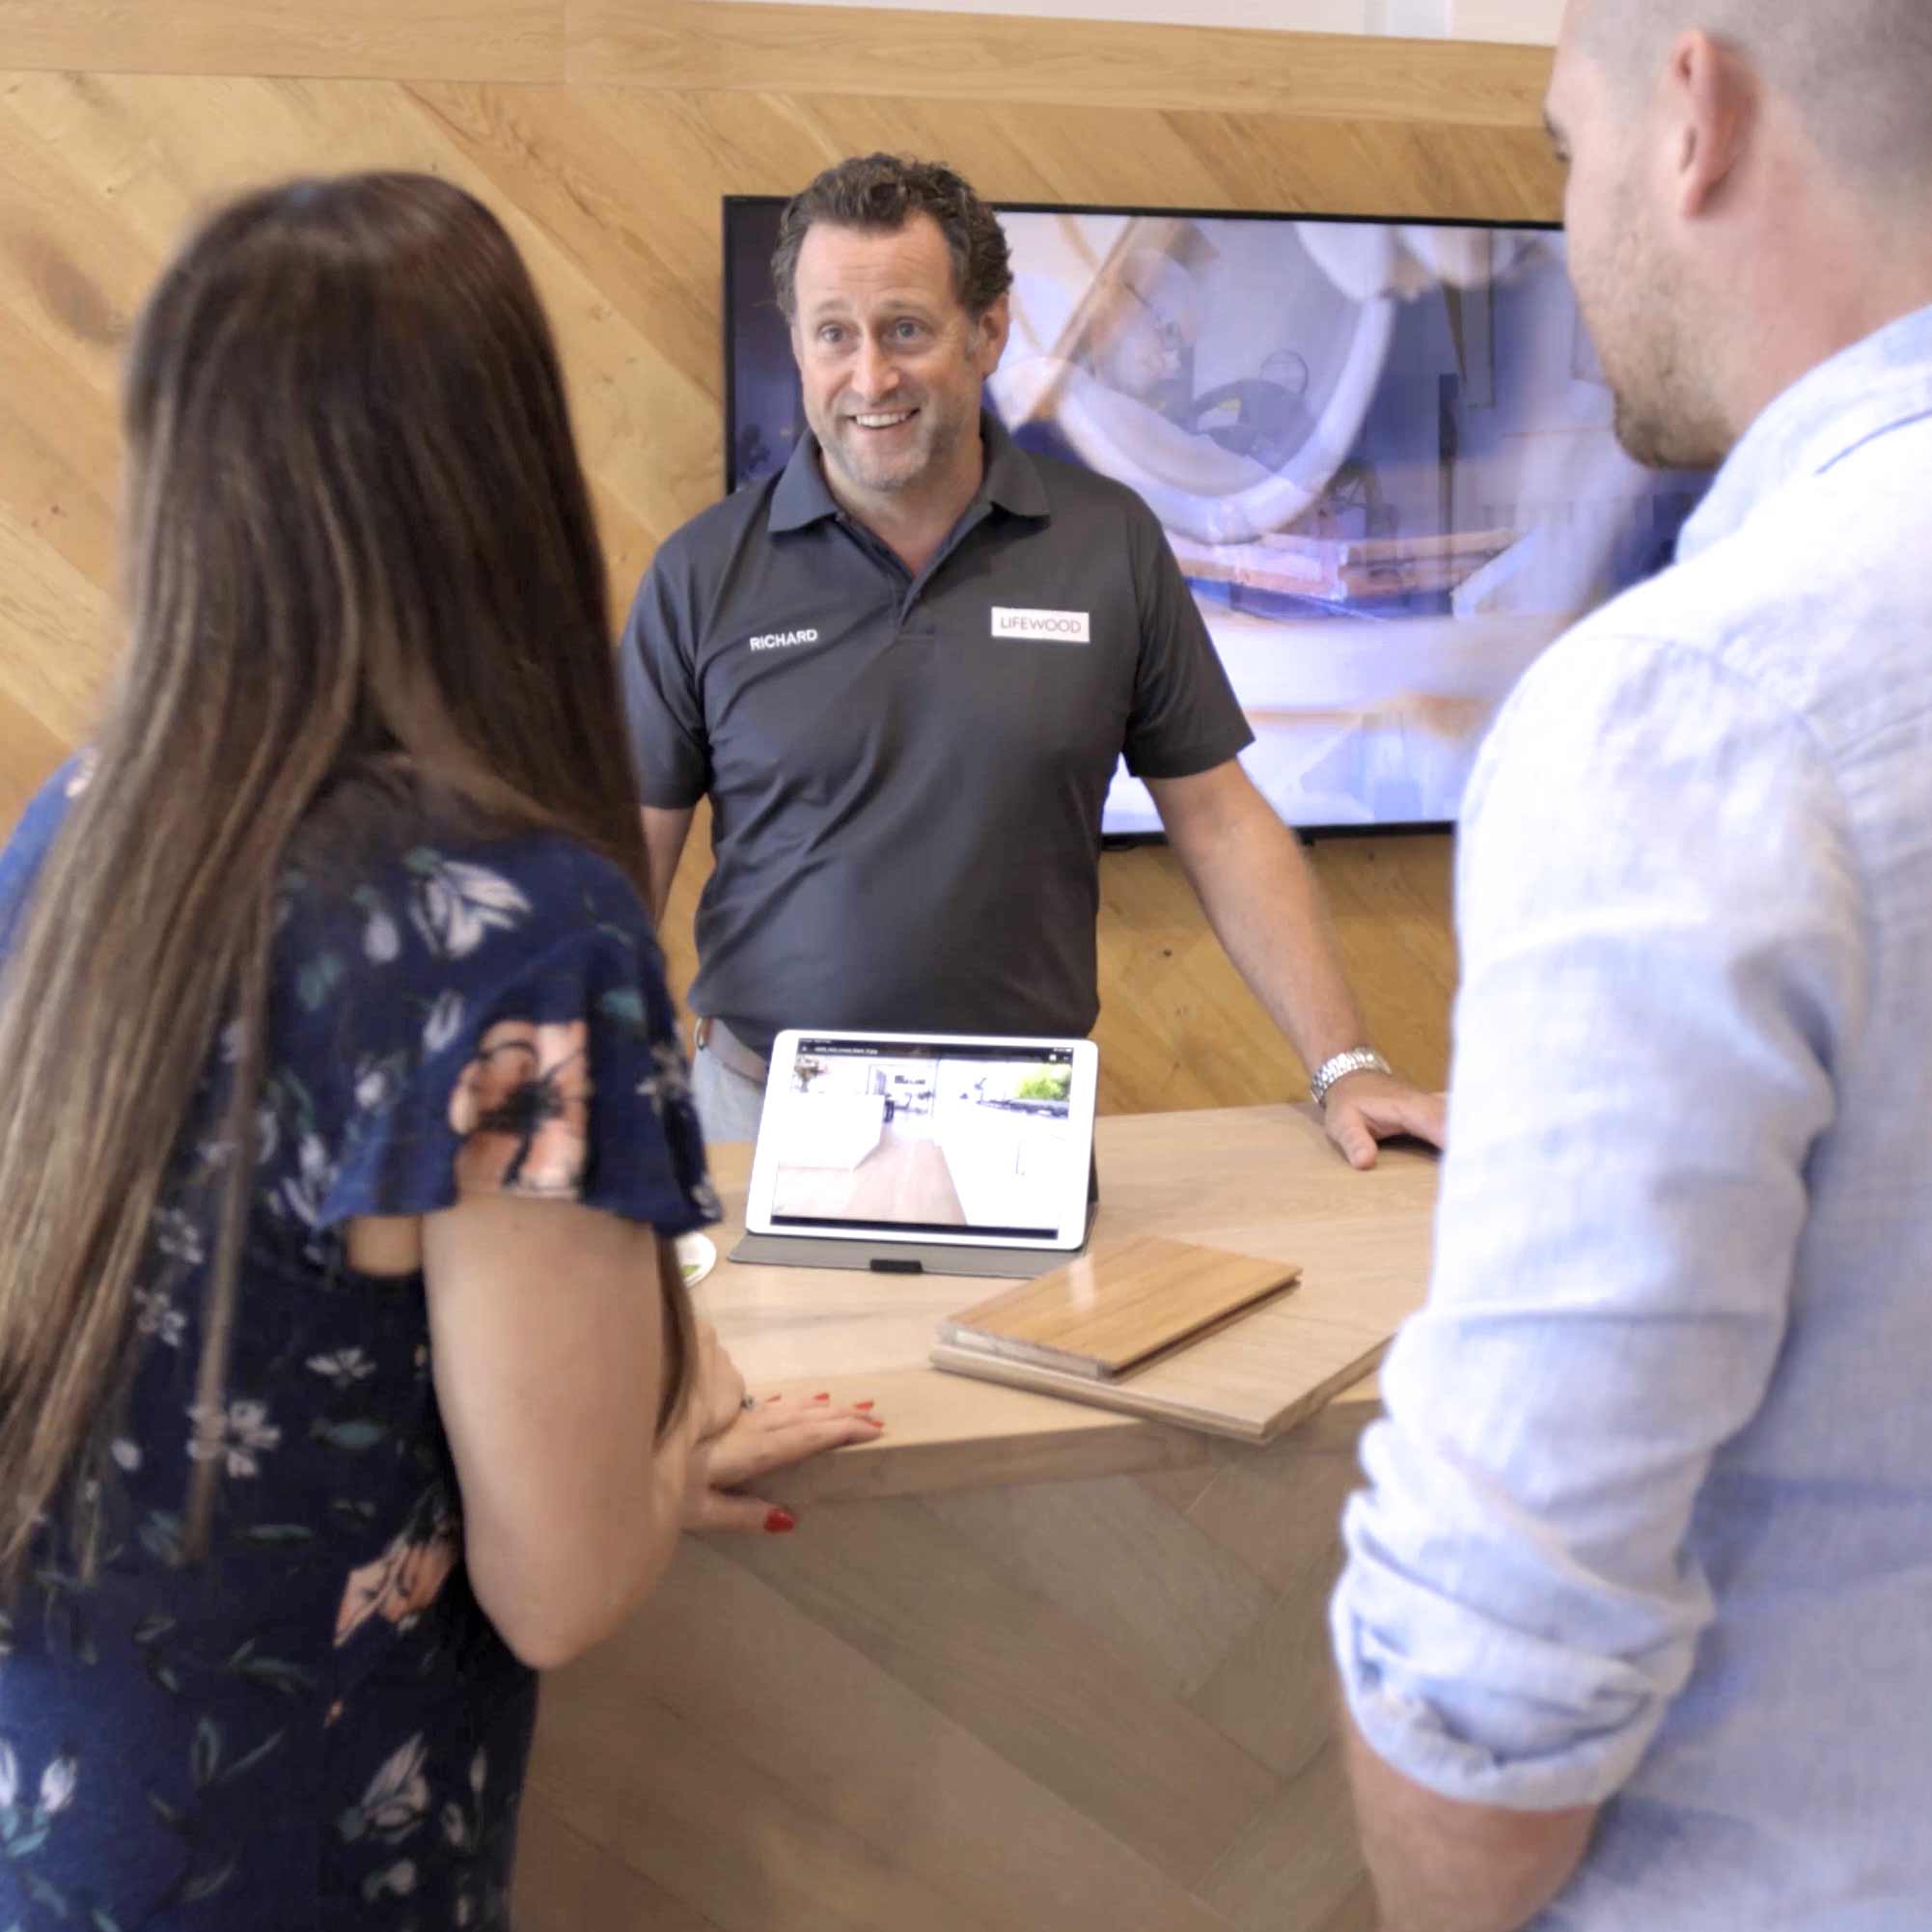
- SHOWROOM EXPERIENCE. Choosing the right floor can be daunting so we highly recommend a visit to our showroom so that you can walk on and touch our entire collection of timbers, enjoy a coffee and look through our photo library of installations in Perth homes, and discuss your flooring project with our knowledgable and experienced consultants.
- SAMPLES. Take home a free sample or two of your timbers of choice to reveal how they look in different lighting and next to other interior design elements such as paint colour, furniture, tiles and so on.
- TIMELINE. Establish your timeline and budget then order your flooring to ensure you have sufficient time for any other works required prior to installation. It is worth allowing more time rather than less for ordering your timber and booking trades. (see next step).
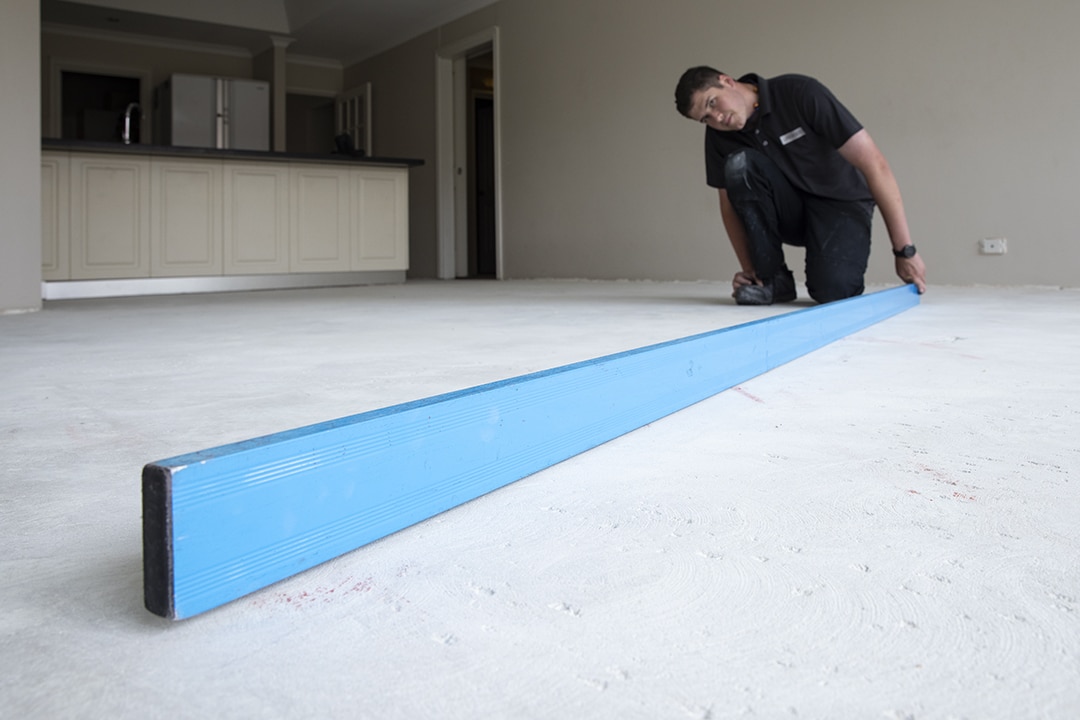
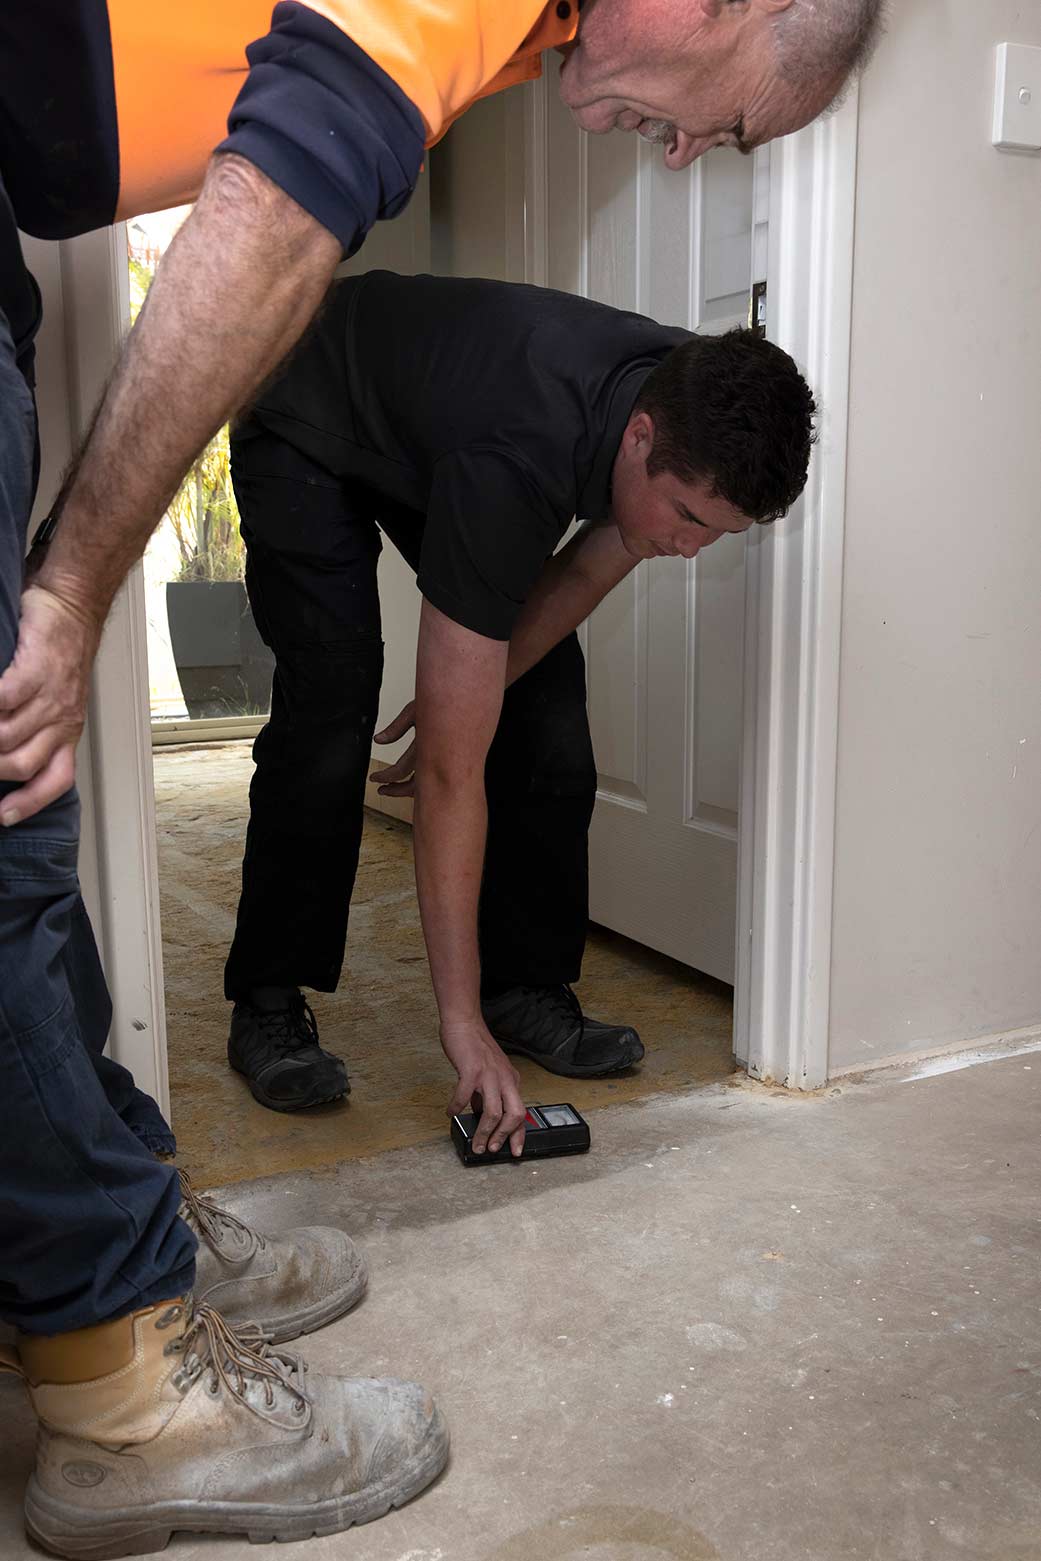
2. Site inspection and floor preparation
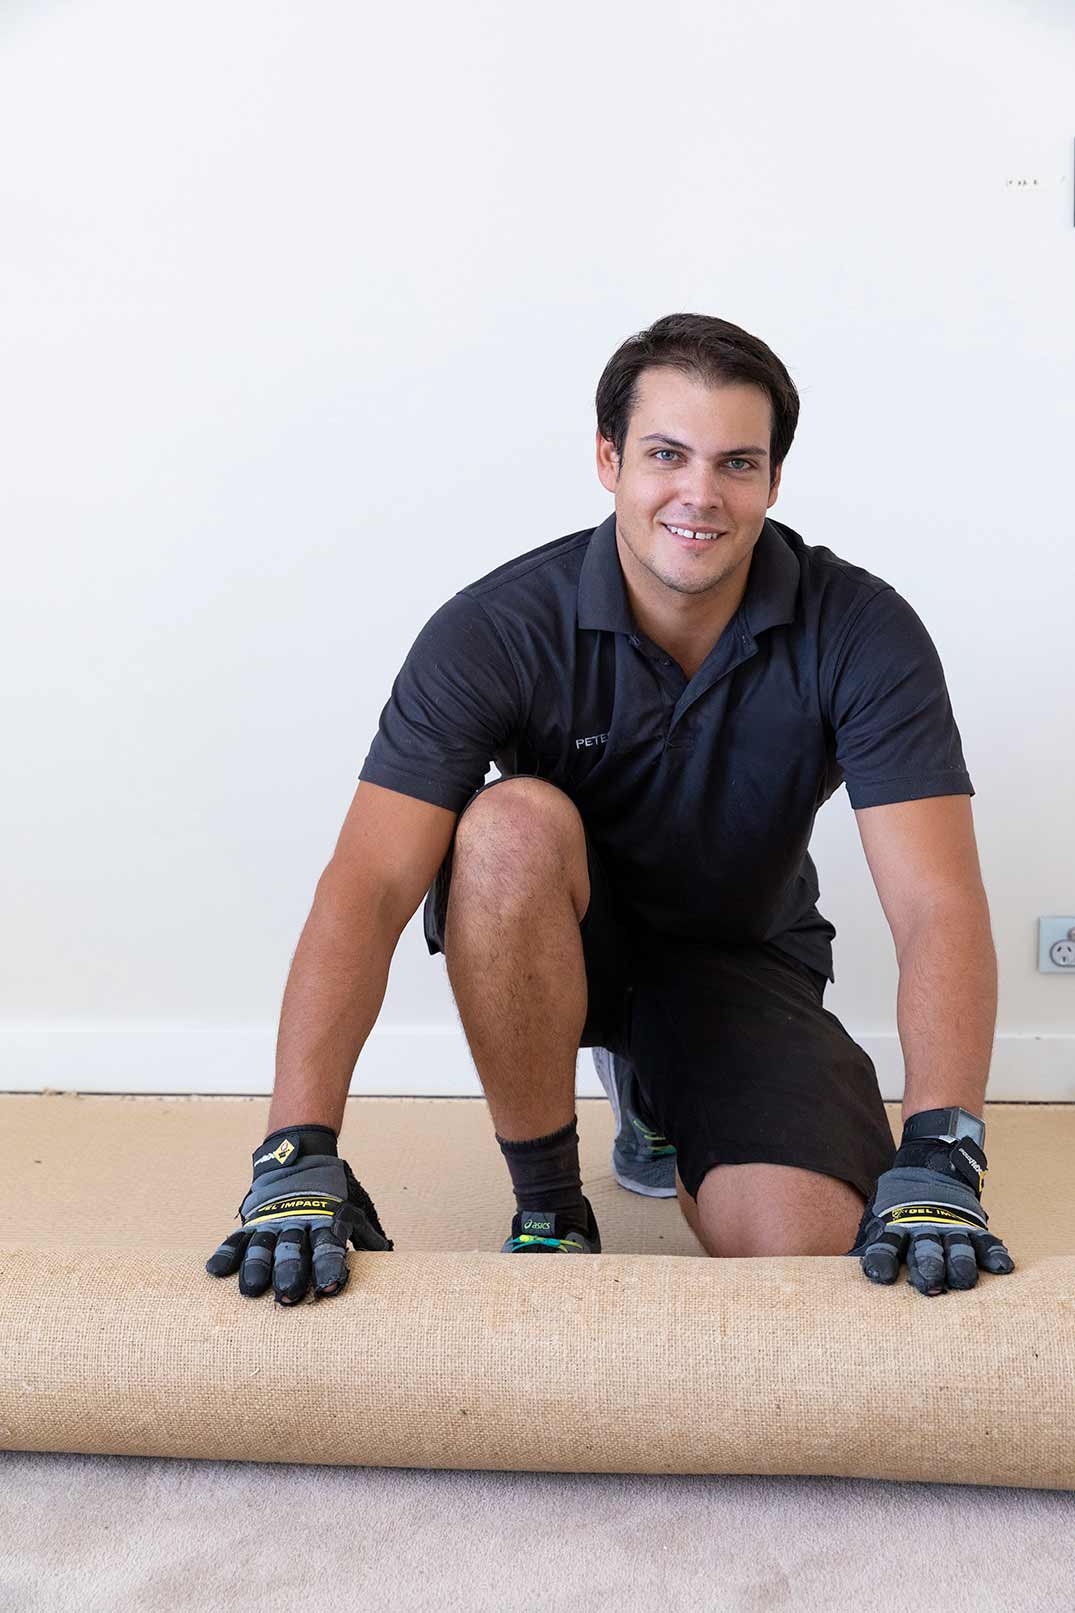
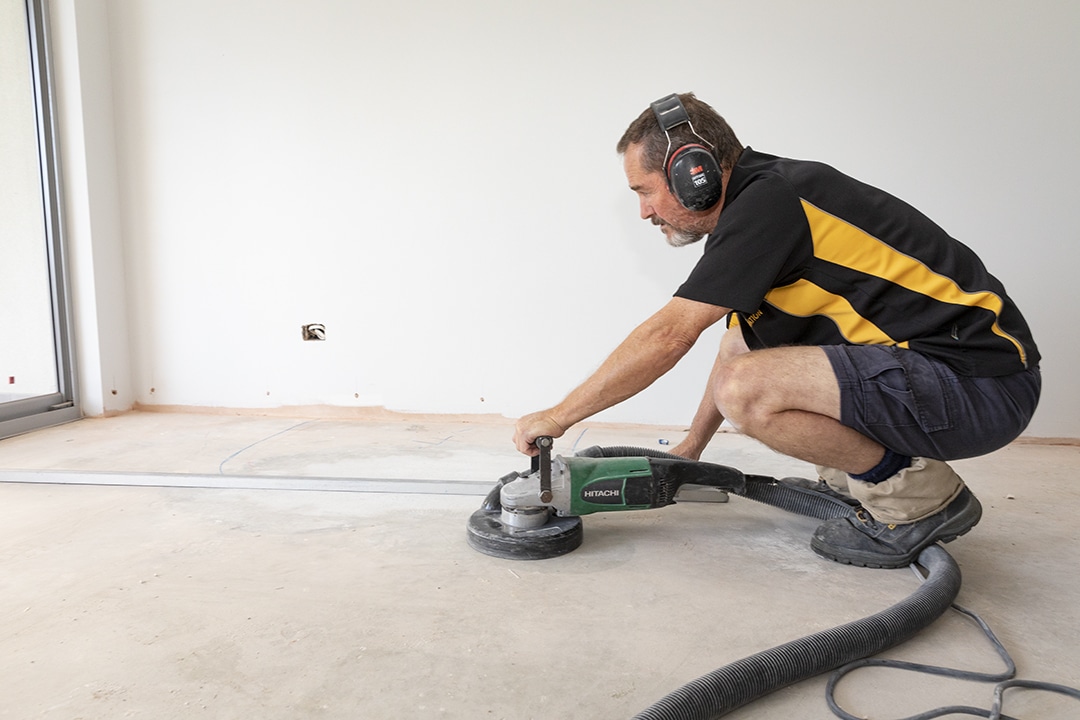
- SUB FLOOR. The next consideration is the condition of your subfloor. Whether you’re building or renovating, your concrete floor will benefit from a site inspection to confirm readiness for installation and establish if any preparation is required prior to installation.
- SITE INSPECTION. Typically an inspection checks the moisture content and flatness of your subfloor according to industry standards, ensuring you can enjoy your timber floor for years to come. For DIY and ‘boards only’ customers an inspection can be done by an experienced flooring installer.
- SKILLED TRADES. Our ‘trusted trades’ list offers skilled tradespeople who can assist you with removal existing tiles or carpet, preparation of concrete such as grinding of high spots, saving you time and the runaround of finding the right people for your project.
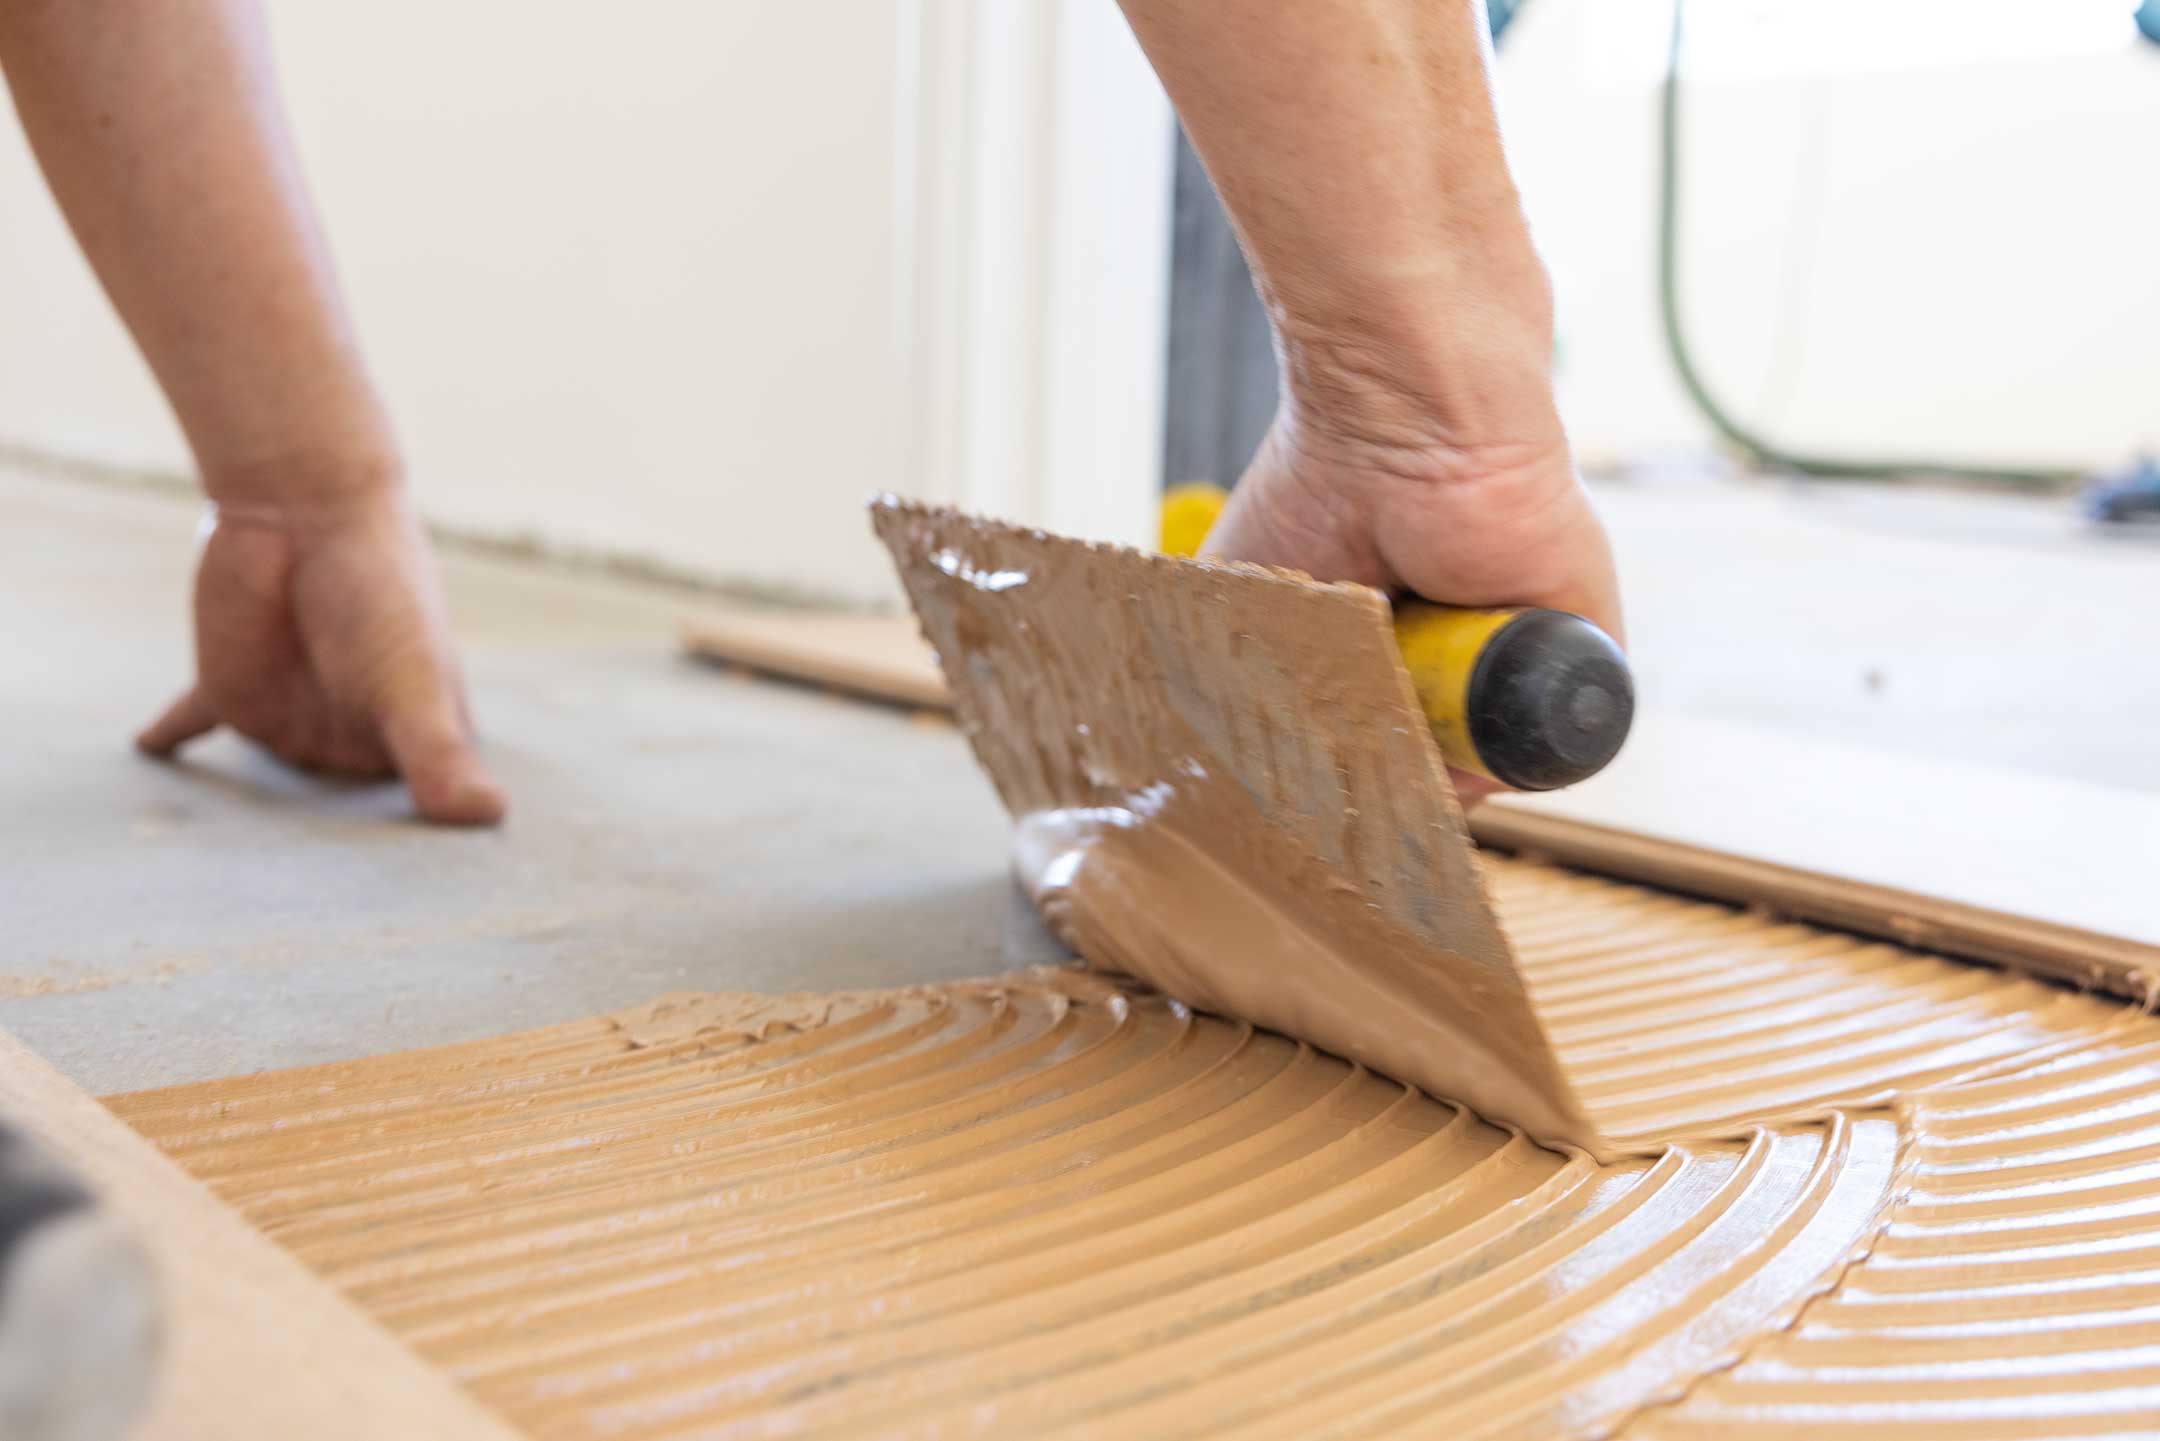
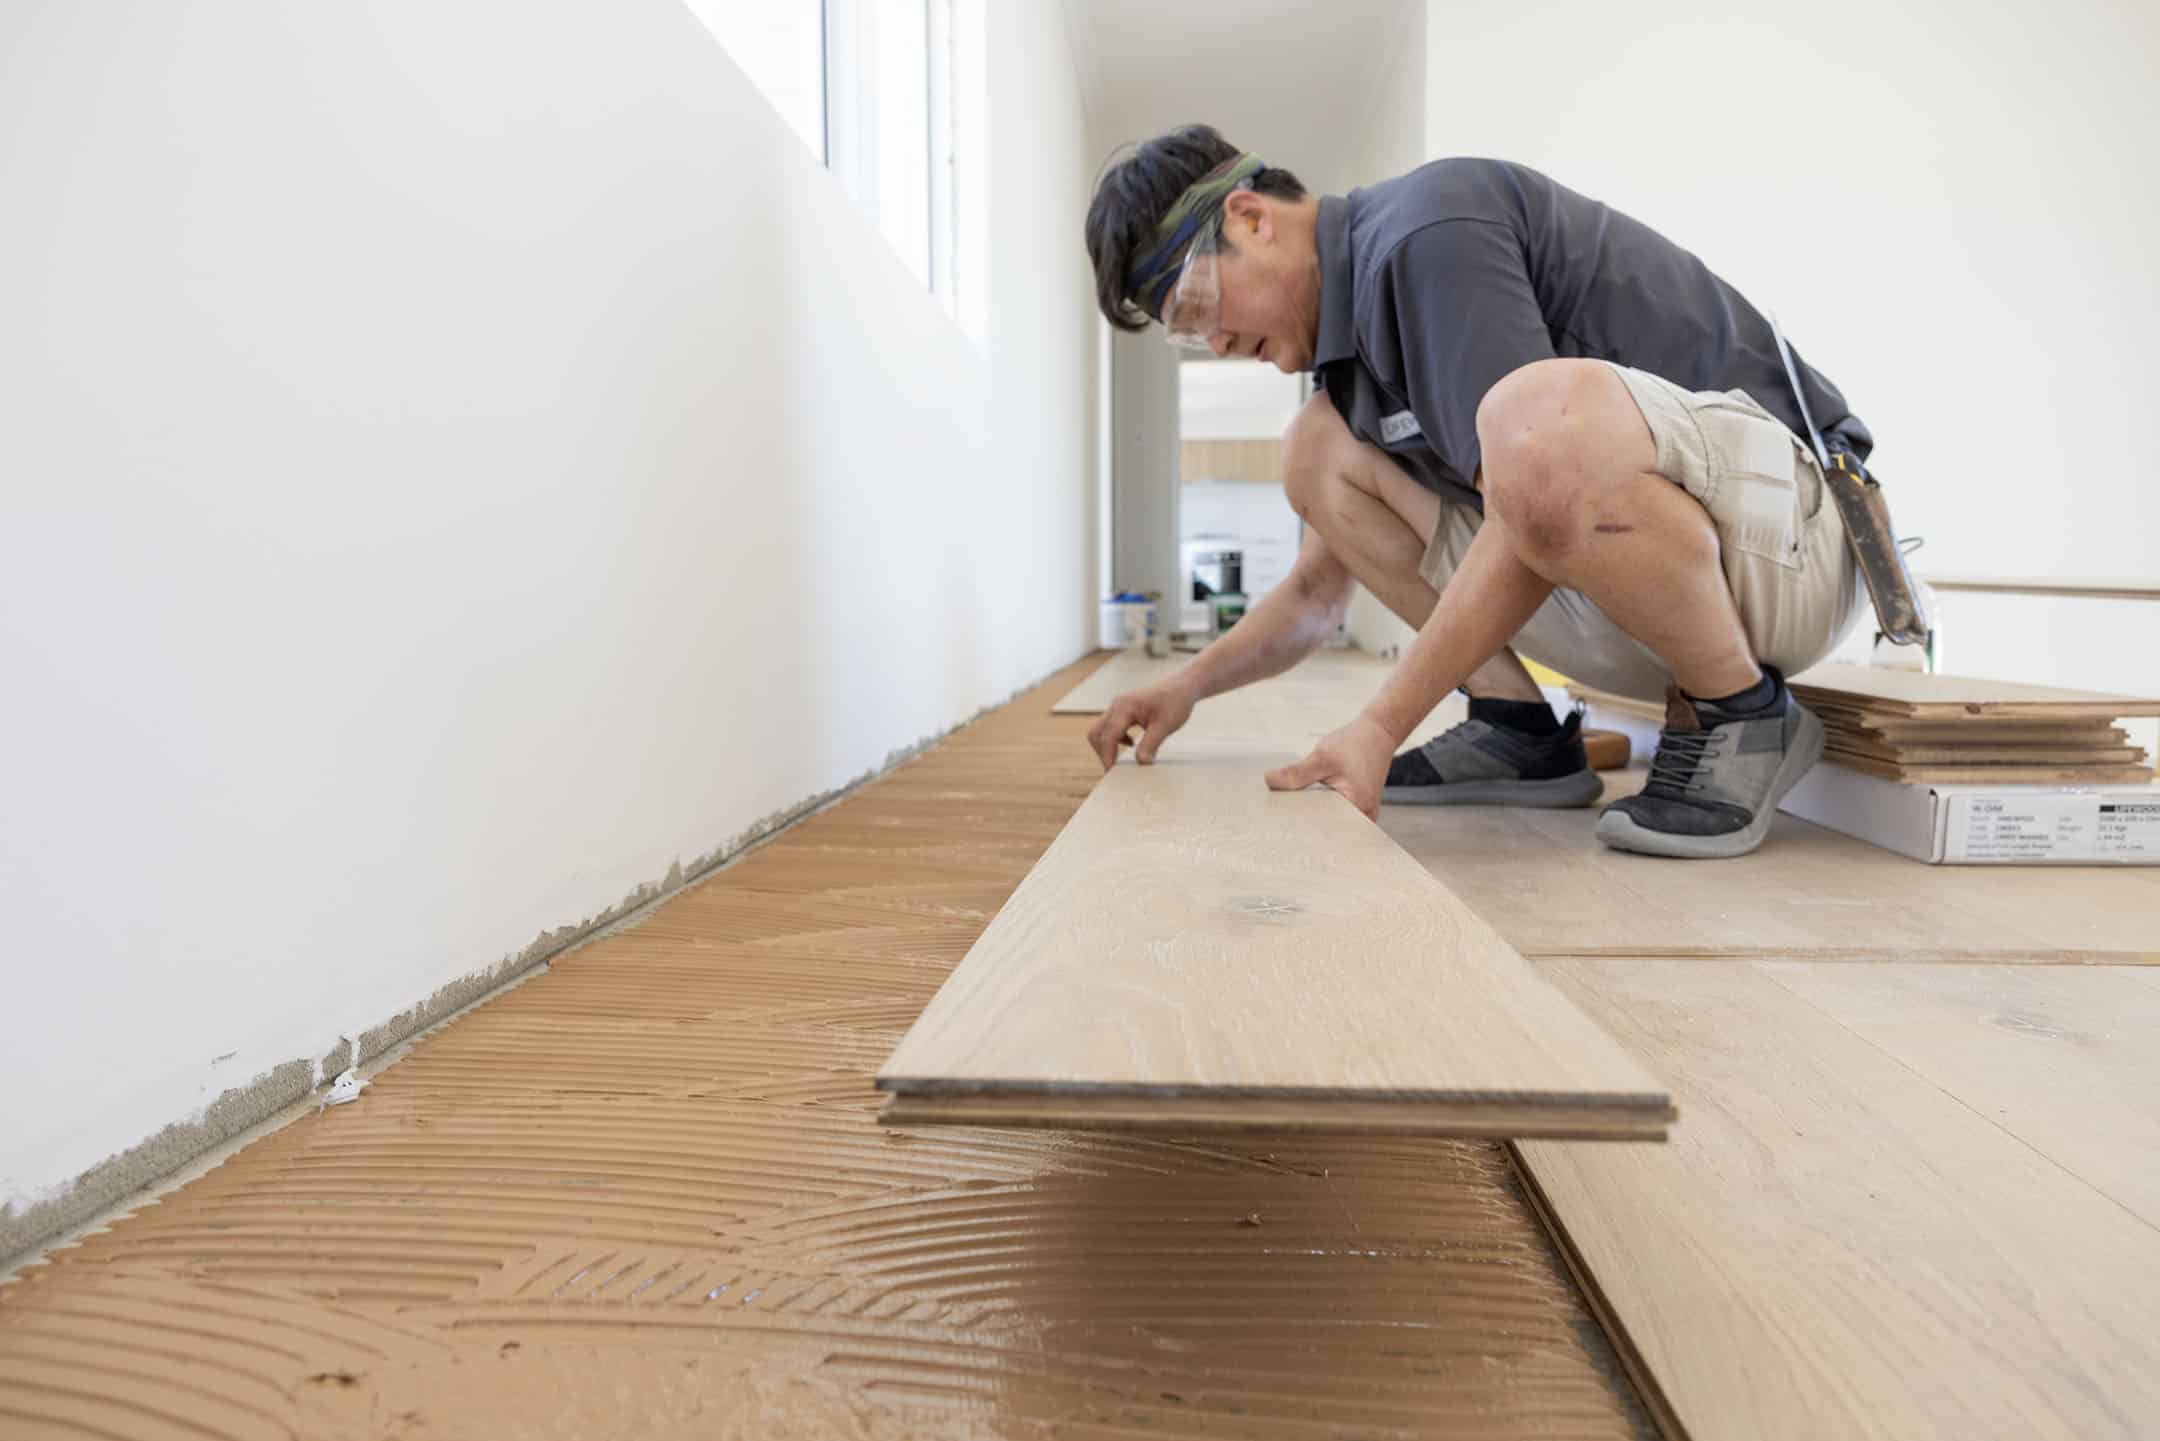
4. Installation
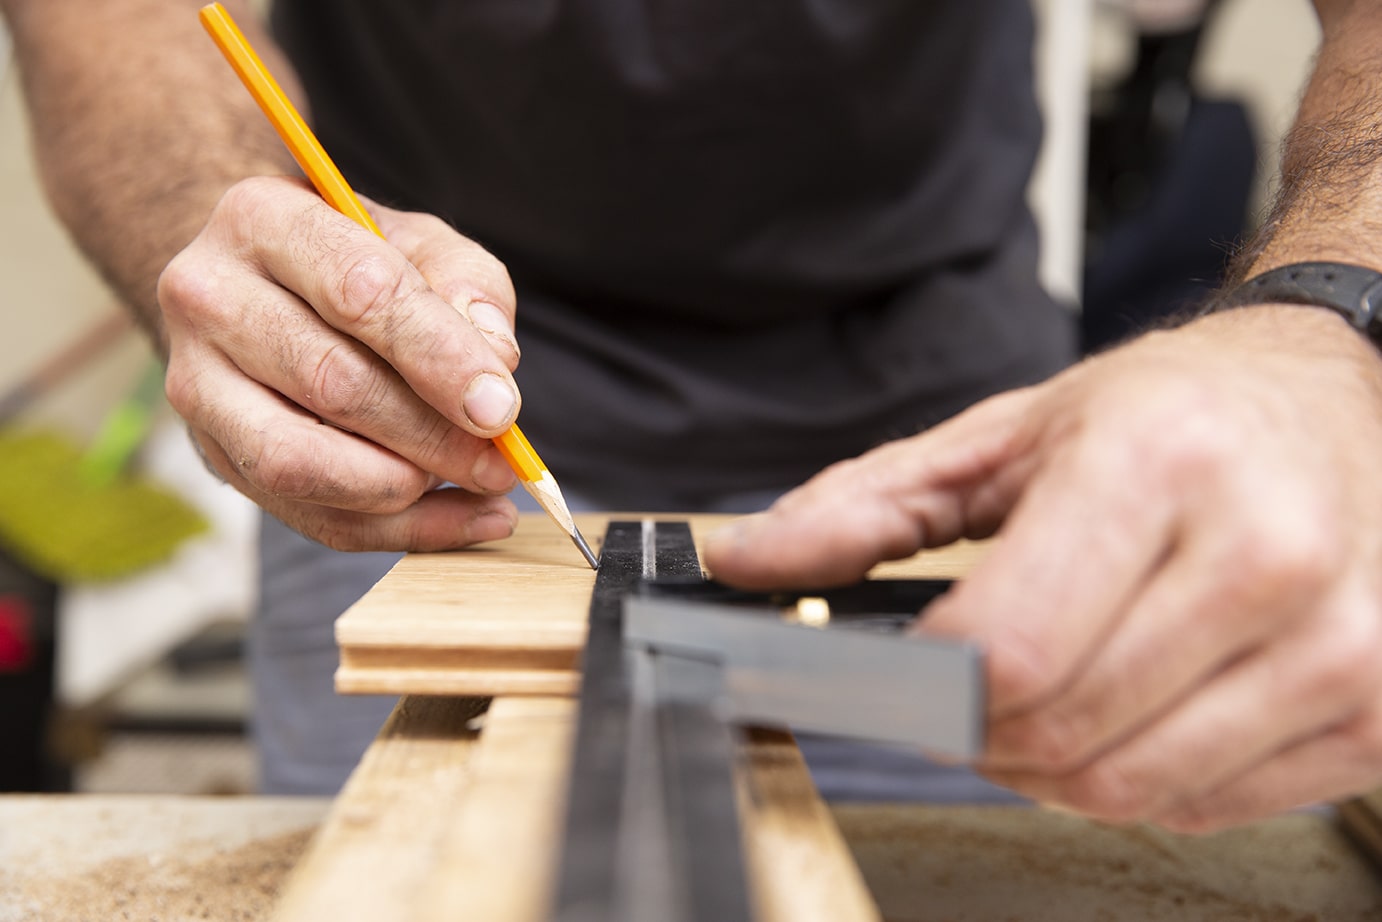
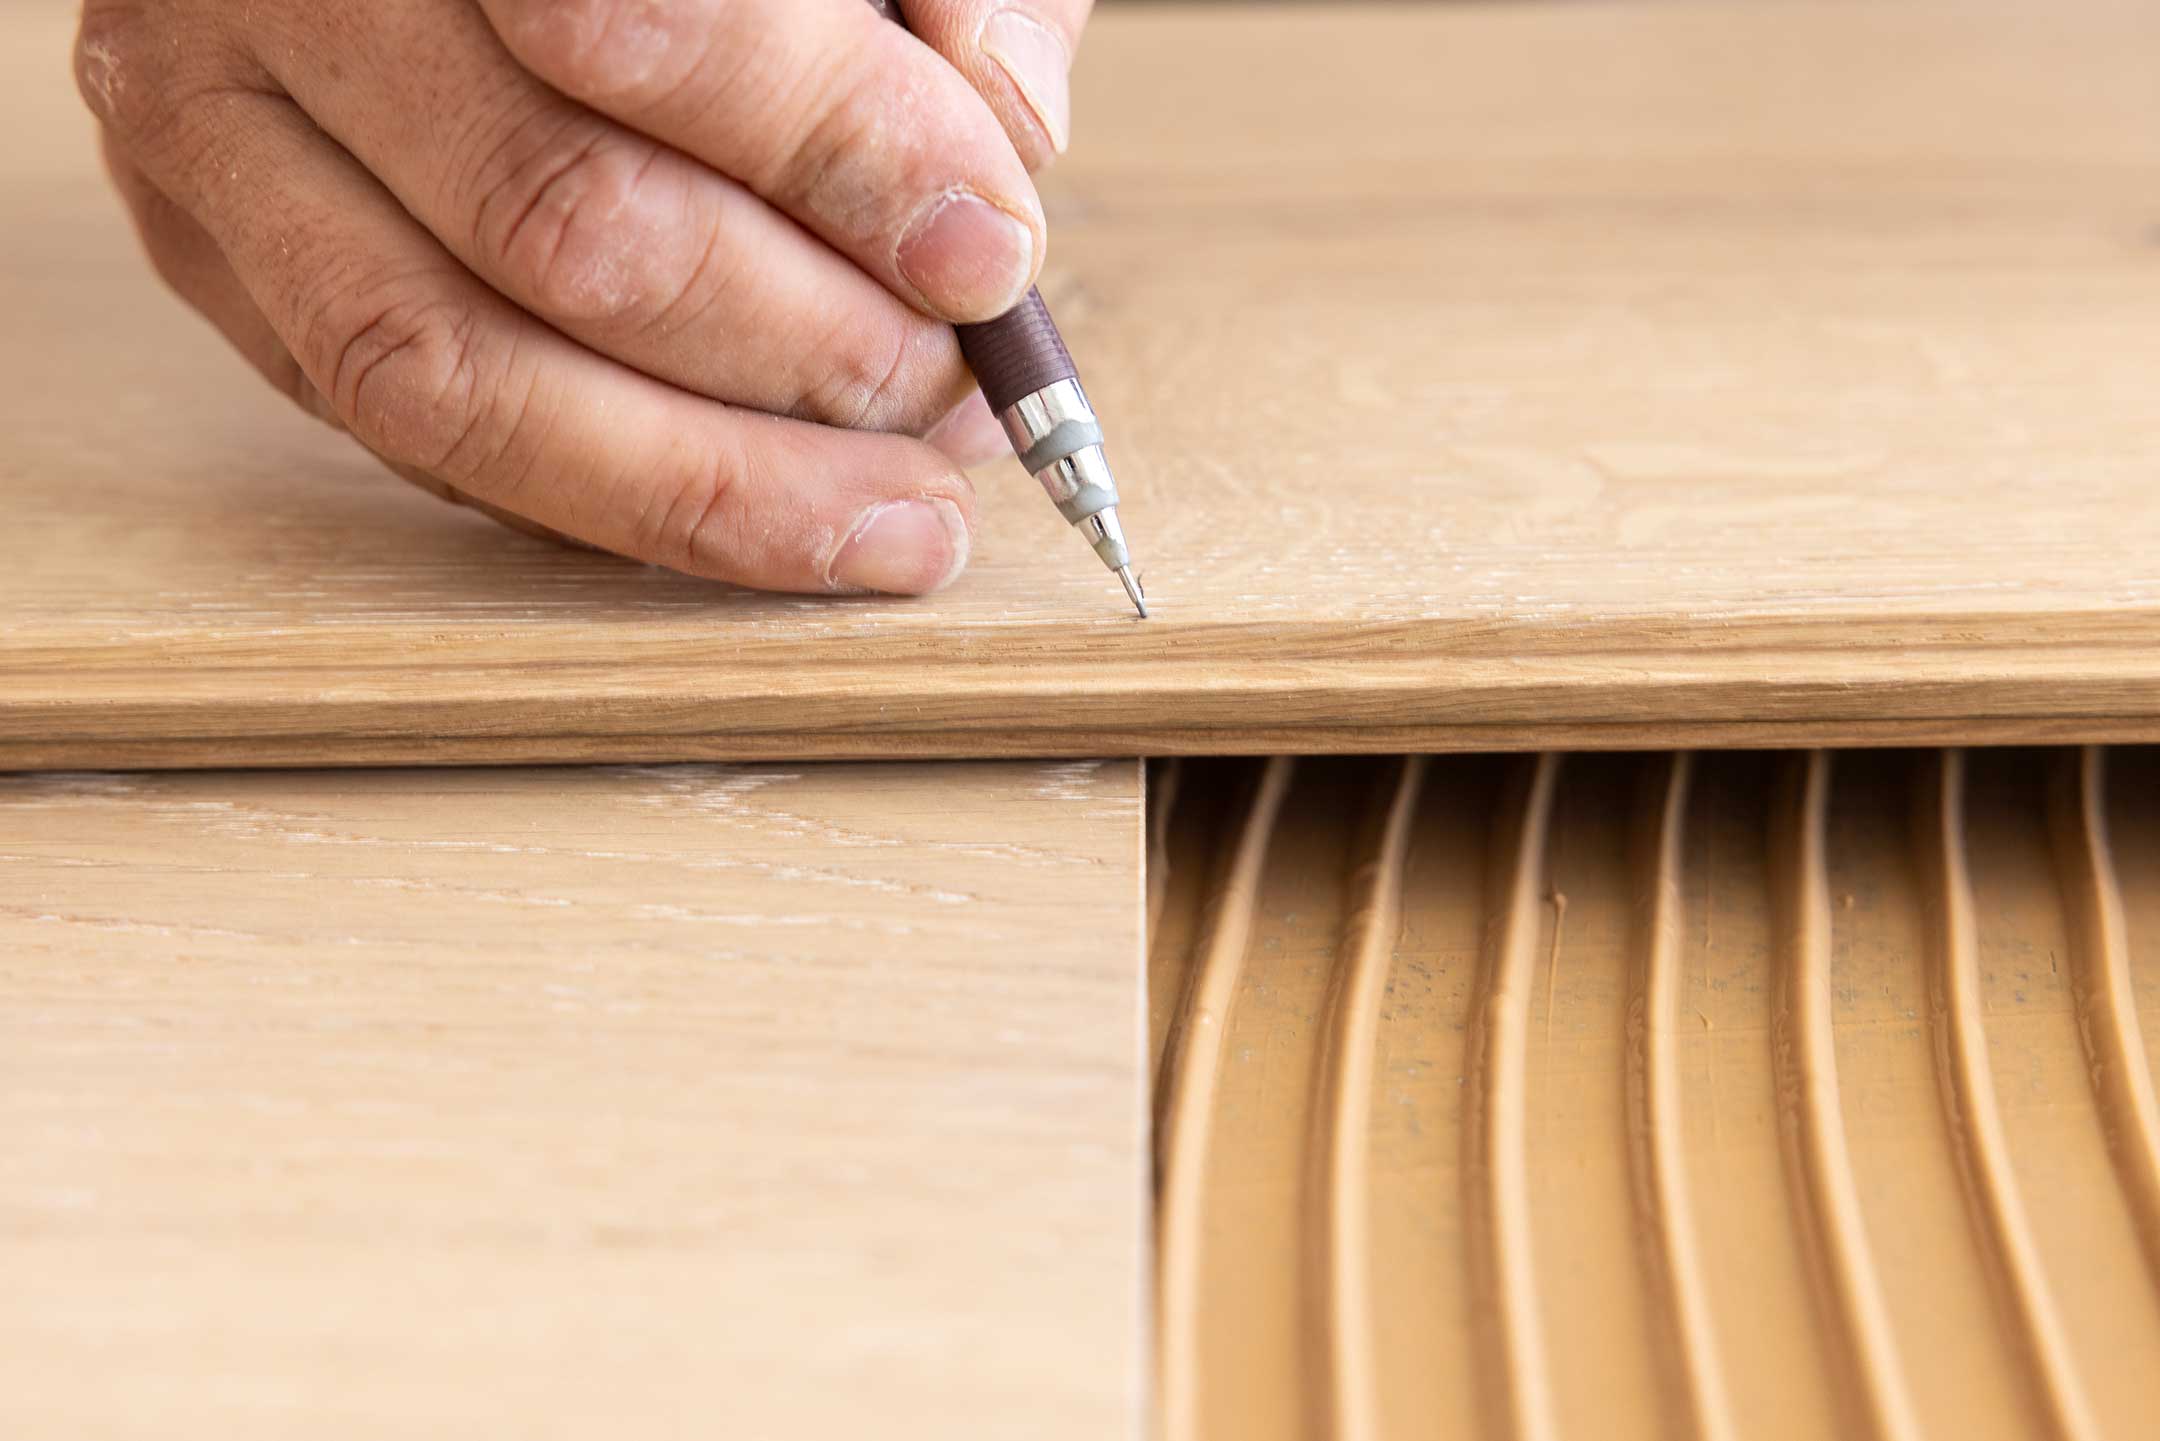
- INSTALLATION. When your subfloor is ready it’s time for your timber flooring to be installed! You may wish to discuss with your installer where they will set up to cut boards, confirm direction of boards being installed and any other concerns or questions you may have.
- DIRECT STICK. We recommend our boards are glued down to enhance stability, reduce sound from walking and allow for future sanding and re coating if desired. If you are a ‘boards only’ customer we can recommend experienced installers we trust to transform your home.
- DIY. For those with carpentry skills the option to install yourself is a great way to save money We’ve created an Installers Guide to assist your installation and we’re always happy to answer any questions you may have.
- PRE-FINISHED. One of the great benefits to our patented design is that the boards are pre-finished so no need for anything more to be done once your floor is laid. You can walk on it the same day as installation!


Need help choosing the perfect floor?
Our entire collection of timbers are laid in-situ to give you a reflection of how your floor will look and feel in your home.
Visit our showroom and we can help you choose the perfect floor to suit your home and lifestyle.

Beauty meets longevity
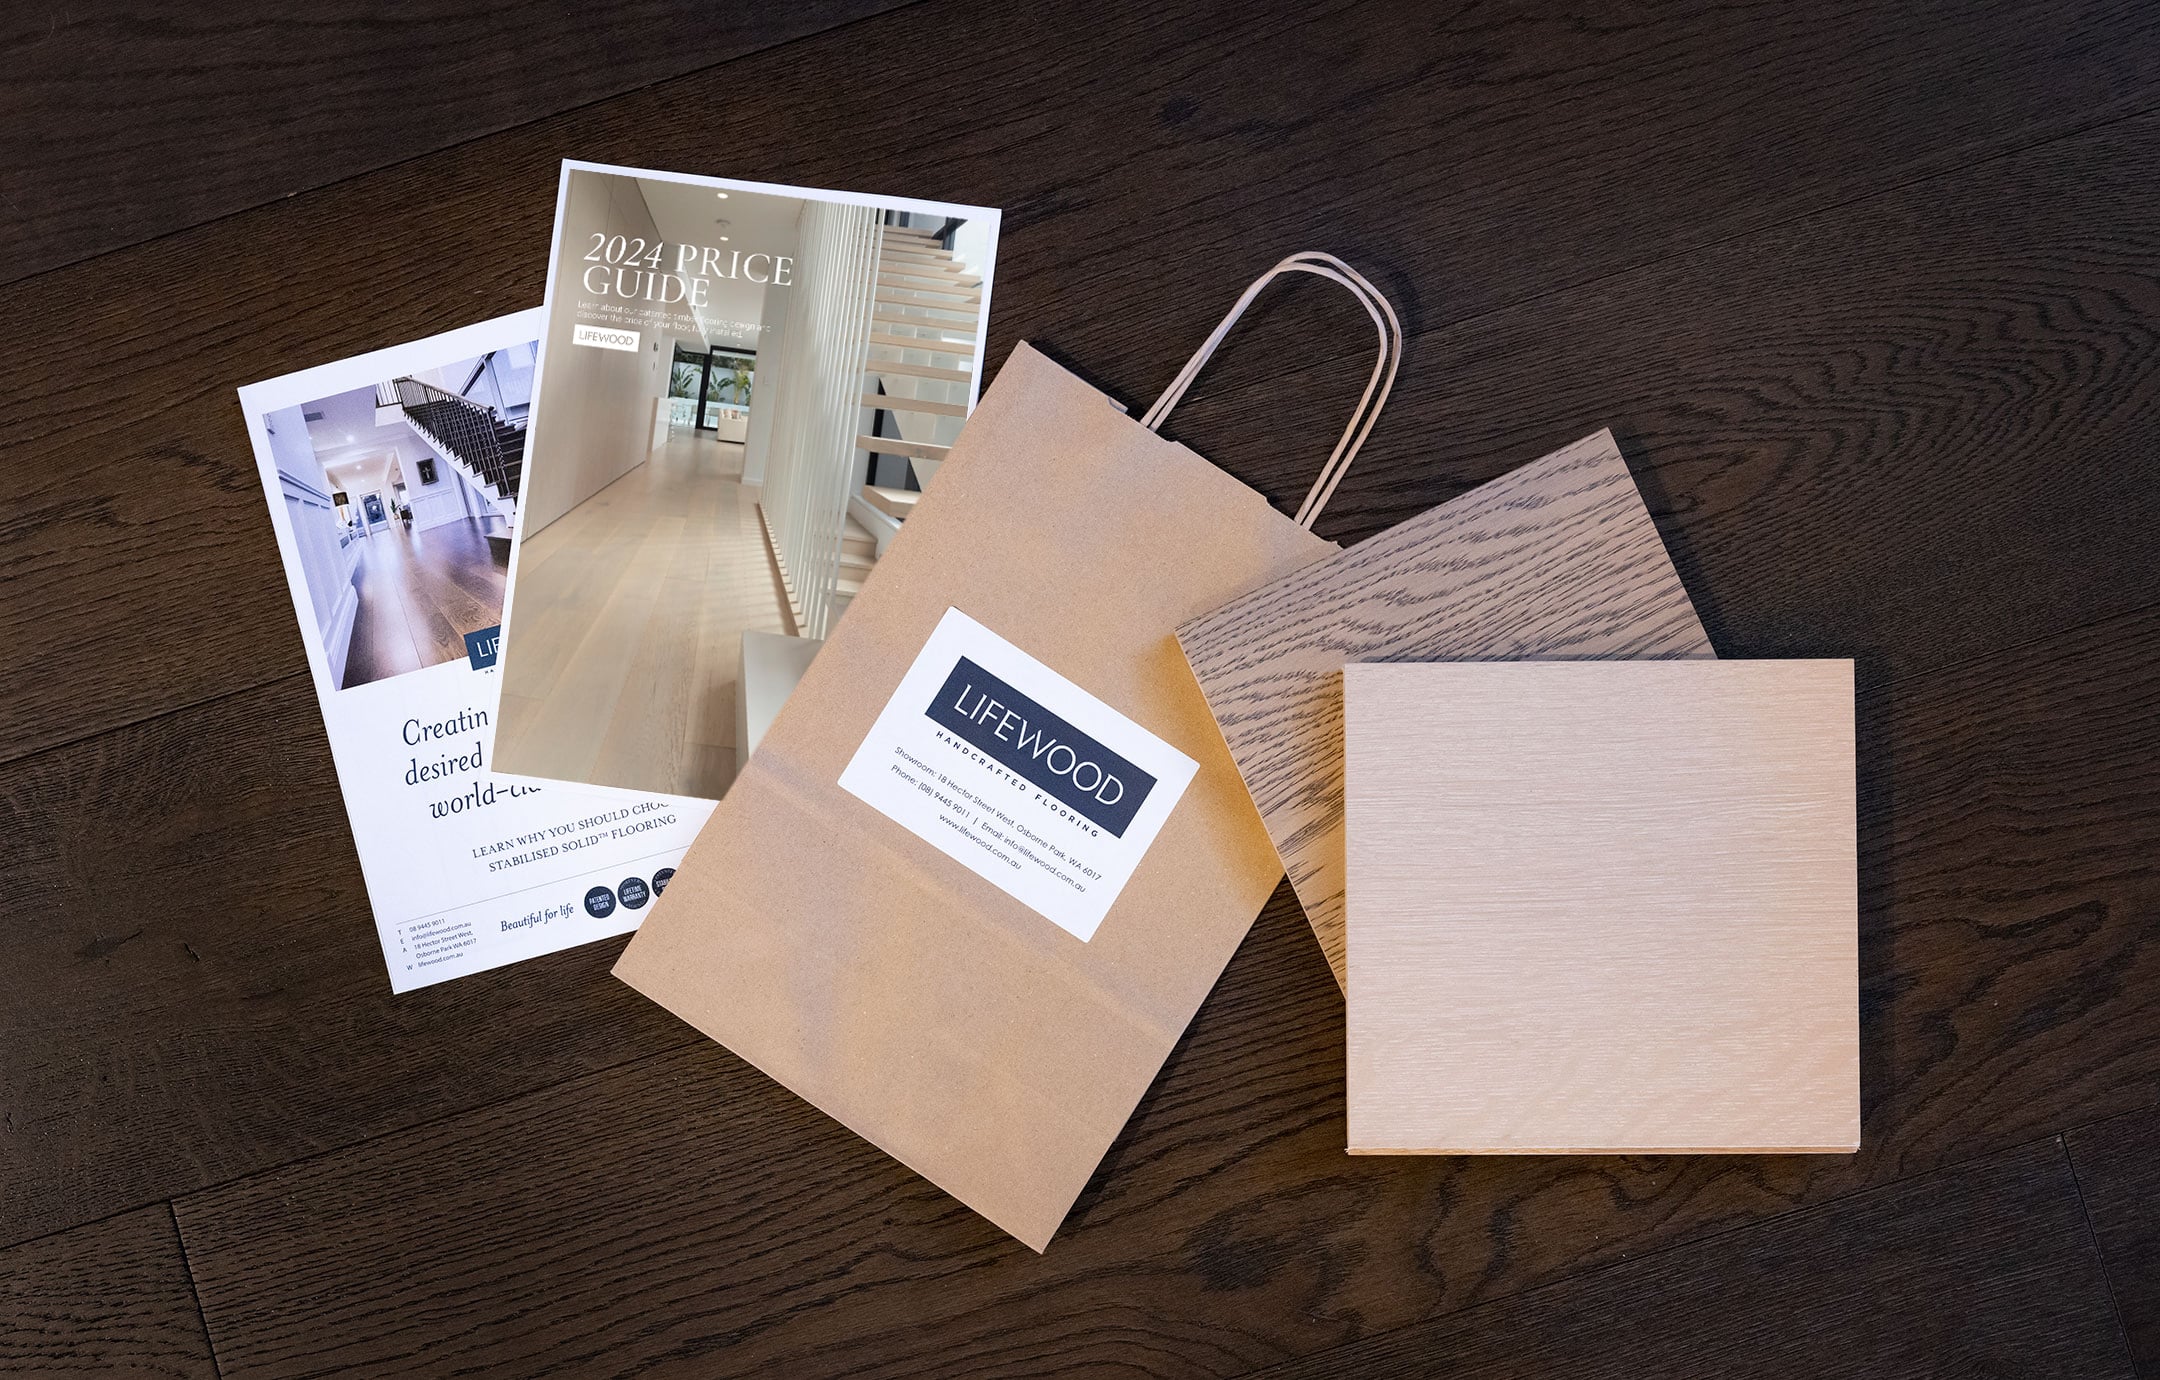
Download
Price Guide

Your details are kept confidential
4.7 from 250 reviews